iMac 27K (Late 2014) を売却するため、ストレージをディスクユーティリティで初期化しようとして、以前は選択することができたデータの完全削除を行う「セキュリティーオプション」がなくなっていることに気がつきました。
詳細は分かりかねますが、SSDの特性からセキュリティーオプションの提供が行われないように変更されたのかもしれません。SSDについては寿命があるようなので、セキュリティーオプションのような処理を行った場合、SSDの寿命を縮めることになり、そのため、セキュリティーオプションが用意されていないのかもしれません。
SSDの寿命はどれくらい?寿命を縮める原因と対策方法をご紹介
SSDストレージの初期化について調べたところ、以下のポイントが分かりました。
【SSD初期化の問題点】
1) APFSでは、完全削除ができない
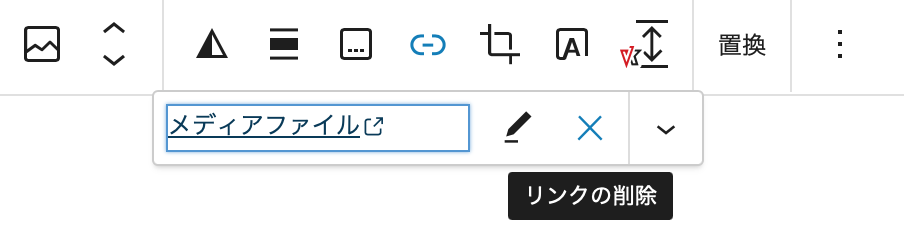
2) ディスクユーティリティのセキュリティーオプションがなくなっている
上記の問題に対する対処としては、以下の方法があることが分かりました。
1) HFS+にすることで対処
2) 起動用USBで起動し、ターミナルからコマンドで対処
まず、起動USBを作成し、SSDのフォーマット、セキュリティーオプション相当のコマンド処理を行うことにしました。
対処に際して、いくつか問題があったため、メモしておきます。
【USBの準備】
USBフラッシュドライブは、以下の条件を満たす必要があるようです。
Mac OS 拡張でフォーマットされ、空き容量が 14 GB 以上あるものを用意してください。
私の場合、手持ちのUSBメモリの容量が小さく、上記の条件を満たさなかったので、新しいUSBメモリを買いました。
ノジマでUSBメモリ 16GBを約800円程度でした。
【起動用USB作成手順】
起動用USBを作成するには、まず、macOSをダウンロードし、インストーラーをUSBにコピーします。
今回は、High Sierraをダウンロードし、作業を進めました。
macOS をダウンロードする方法
macOS の起動可能なインストーラを作成する
【問題1: 空白のエスケープ指定】
最初、ダウンロードしたmacOSの createinstallmedia コマンドでUSBにファイルをコピーを試みましたが、参照した例が、空白のエスケープをダブルクォーテションで行っており、認識できていないようだったので、バックスラッシュでエスケープし、対処しました。
(High Sierra で、USBボリューム名が、MyVolumeの場合)
$ sudo /Applications/Install\ macOS\ High\ Sierra.app/Contents/Resources/createinstallmedia --volume /Volumes/MyVolume --applicationpath /Applications/Install\ macOS\ High\ Sierra.app --nointeraction
【問題2: USBフォーマット問題】
パラメータが適切に認識され、コマンドを発行したところ、以下のエラーが出力されたので、USBをMacOSのファイルフォーマットでフォーマットすることで対処しました。
「このボリュームのフォーマットには大きすぎるため、コピーできません」
対処法:「このボリュームのフォーマットには大きすぎるため、コピーできません」
【問題3: Info.plistのバージョン指定問題】
パラメータ指定、USBのフォーマットに対処しましたが、次は以下のエラーが出力されました。
Info.plistの情報に不適切な指定があるようなので、訂正します。
「USBメモリ is not a valid volume mount point.」
macOS Sierraのインストール 用 USBメモリ作成方法の落とし穴
$ sudo plutil -replace CFBundleShortVersionString -string "12.6.03" /Applications/Install\ macOS\ Sierra.app/Contents/Info.plist
【問題4: disk error number (-69888, 0)問題】
上記の対処を行い、再度コマンドを入力したところ以下のエラーメッセージが出力されました。
このエラーは、Macを再起動し、再度コマンドを入力することで対処できました。
「Error erasing disk error number (-69888, 0)」
【SSDの初期化】
ようやく起動用USBが作成できたので、USB起動し、ターミナルからコマンドでSSDを初期化します。
起動用USBをスロットに差したまま電源を入れれば、USB起動できます。
マウント状態を確認し、必要であればHPS+フォーマットを行い、ストレージを初期化します。
$ diskutil list # マウントされているディスク一覧を表示
Macにマウントされているディスクの状態を確認し、APFSフォーマットされたディスクがあればHPS+にフォーマットします。
その後、diskutil secureErase コマンドでSSDを初期化すれば作業終了です。
1) Apple_APFS を削除、HPS+(Hierarchical File System Plus) にフォーマット
diskutil apfs deleteContainer /dev/disk0s2 # disk0s2 など指定は環境により異なることに注意
diskutil eraseDisk JHFS+ "Untitled" /dev/disk0
2) SSDを初期化
diskutil secureErase 2 /dev/disk0 # 2: 米国国防総省標準の7回の上書き
OSX El Capitan でのHDD完全消去方法
初期化処理は、消去方法によっては数時間を要します。
処理中にMacがスリープすることで処理が停止しているようであれば、以下のコマンドでスリープを抑止します。
$ sudo pmset -a disablesleep 1
【参考】
Mac を売却、譲渡、下取りに出す前にやっておくべきこと